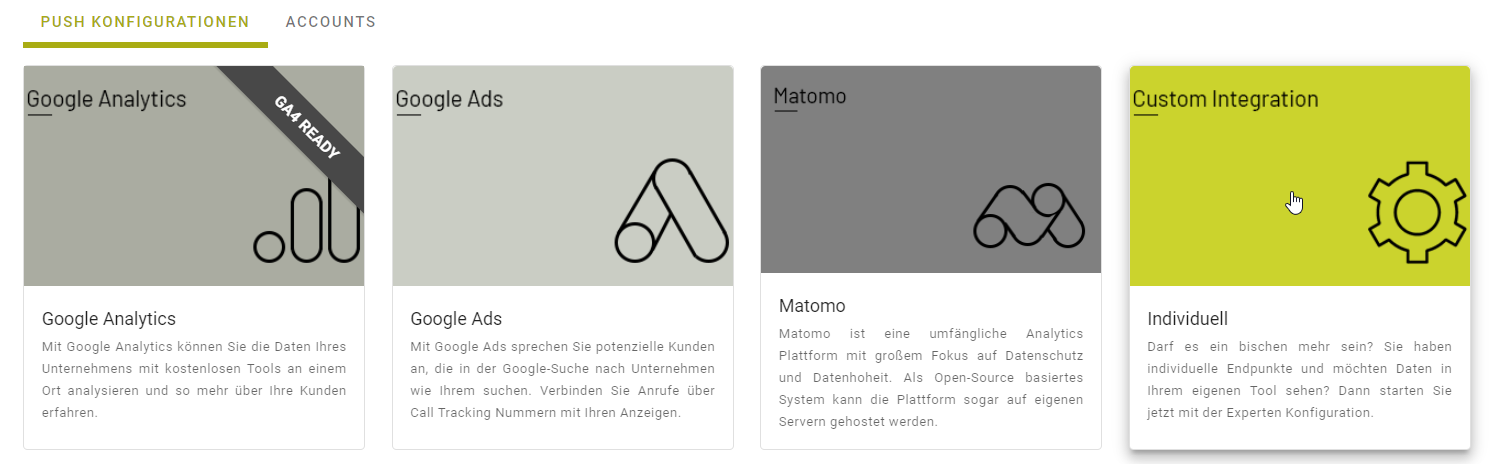
- This article gives an overview of possible connections from matelso to HubSpot. The connections use the Integration 2.0 Custom Push configuration.
- 1. HubSpot API Direct Connection
- 2. HubSpot in connection with a PHP script
- This script must be saved as a .php file on a web server with a PHP module.
- Block 1 (Zeile 3):
- Block 2 (Zeile 8):
- Block 3 (Zeile 13):
- Block 4 (Zeile 16):
This article gives an overview of possible connections from matelso to HubSpot. The connections use the Integration 2.0 Custom Push configuration. #
This article is only an overview and not an actual guide. You can use the information from this article as a basis to build your own integration. If you need help with this, we recommend the matelso Consulting Service.
1. HubSpot API Direct Connection #
ATTENTION: As of 30.11.2022, the HubSpot API no longer accepts API keys. Authentication is currently only possible via private App Access Token or OAuth. Matelso supports authentication via OAuth, but the following article still refers to the old method.
The direct connection to HubSpot generates a deal for each call to a call tracking number. This variant requires no additional script and can be set up via the control panel.
Setup in the CP
First we navigate to “Configuration”->”Integrations 2.0″.

Then we create a CustomPush using the pre-select button.

Then we assign a name and time for the push.

In this example, the push is called “HubSpot-Direct” and “POST CALL” is used as the time. Filters can also be set here, but we don’t use them in this example.
In the next step, we enter the end point of the HubSpot API in the “Where to?” area. To create a deal, we use the endpoint “https://api.hubapi.com/crm/v3/objects/deals”.

No HTTP Basic authentication is used and error handling is left at the default.
The last area we need to fill in is the “What?” area. Here we first set the HTTP method to “POST”. We also set an HTTP header “Content-Type”.

Since HubSpot API authentication works through the API key, we need to set the API key as a GET parameter.

In the last configuration step, we fill the POST body of the request with a JSON object defined in the HubSpot API.

{
"properties": {
"amount":"1.00",
"dealname": "Neuer Anruf von {{callData.aNumber.number.numberFormatter (INTERNATIONAL)}}",
"dealstage": "appointment scheduled",
"pipeline": "default"
}
}
This object contains a property called “properties”. There are 4 properties in this “properties” object.
Line 3 “amount”: The amount/value of the transaction. Here we set 1 statically, as we do not know this value yet.
Line 4 “dealname”: Here we set the name of the deal that will be created in HubSpot. In our example, the name starts with “New call from”, followed by the DDD key for the caller number. e.g. “New call from +4971196589120”.
Line 5 “dealstage”: Here we set the phase of the deal. In our example we set the deal to “appointmentscheduled”.
Line 6 “pipeline”: Determines in which pipeline the deal is created.
2. HubSpot in connection with a PHP script #
With this configuration, the push is sent to a PHP script. This script searches HubSpot for a contact with the caller number and creates this contact if it does not exist. A note is then saved with the call information for this contact.
PHP script
In order to map the logic of the contact search/contact creation, a PHP script is required. This script must be installed as a .php file on a web server with a PHP module.
This script must be saved as a .php file on a web server with a PHP module. #
<?php

/* ----- config starts here ----- */
define("WEB_PASSWORD", "SICHERES_PASSWORT");
define("DEBUG_LOG", true);
define("HUBSPOT_API_KEY", "0ab12c34-****-****-****-************");

/* ----- check access password ----- */
if(WEB_PASSWORD != $_GET["webPasswd"]) {
return;
}

/* ----- read values from request ----- */
$aNumber = $_GET["aNumber"];

/* ----- code starts here ----- */
// log a message to the output if DEBUG_LOG is set to true
function logDebug($msg) {
if (DEBUG_LOG == true) {
echo $msg . '<br/>';
}
}
// finds a contact in hubspot by the given phone number
function findContactByNumber($number) {
$curl = curl_init();
curl_setopt_array($curl, array(
CURLOPT_URL => "https://api.hubapi.com/crm/v3/objects/contacts/search?hapikey=" . HUBSPOT_API_KEY,
CURLOPT_RETURNTRANSFER => true,
CURLOPT_ENCODING => "",
CURLOPT_MAXREDIRS => 10,
CURLOPT_TIMEOUT => 30,
CURLOPT_HTTP_VERSION => CURL_HTTP_VERSION_1_0,
CURLOPT_CUSTOMREQUEST => "POST",
CURLOPT_POSTFIELDS => "{ \"filterGroups\": [ { \"filters\": [ { \"value\": \"" . $number . "\", \"propertyName\": \"phone\", \"operator\": \"EQ\" } ] } ], \"properties\": [ \"id\", \"phone\" ], \"limit\": 100 }",
CURLOPT_HTTPHEADER => array(
"accept: application/json",
"content-type: application/json"
),
));
$response = curl_exec($curl);
$err = curl_error($curl);
curl_close($curl);
if ($err) {
return null;
} else {
return $response;
}
}
// create a new contact in hubspot with the given phone number and and email address based on the phone number
function createContact($number) {
$curl = curl_init();
curl_setopt_array($curl, array(
CURLOPT_URL => "https://api.hubapi.com/crm/v3/objects/contacts?hapikey=" . HUBSPOT_API_KEY,
CURLOPT_RETURNTRANSFER => true,
CURLOPT_ENCODING => "",
CURLOPT_MAXREDIRS => 10,
CURLOPT_TIMEOUT => 30,
CURLOPT_HTTP_VERSION => CURL_HTTP_VERSION_1_0,
CURLOPT_CUSTOMREQUEST => "POST",
CURLOPT_POSTFIELDS => "{ \"properties\": { \"email\": \"" . $number . "@call.from.calltracking.de\", \"phone\": \"" . $number . "\" } }",
CURLOPT_HTTPHEADER => array(
"accept: application/json",
"content-type: application/json"
),
));
$response = curl_exec($curl);
$err = curl_error($curl);
curl_close($curl);
if ($err) {
return null;
} else {
return $response;
}
}
// create notice in hubspot
function createNotice($text, $contactId) {
$curl = curl_init();
curl_setopt_array($curl, array(
CURLOPT_URL => "https://api.hubapi.com/engagements/v1/engagements?hapikey=" . HUBSPOT_API_KEY,
CURLOPT_RETURNTRANSFER => true,
CURLOPT_ENCODING => "",
CURLOPT_MAXREDIRS => 10,
CURLOPT_TIMEOUT => 30,
CURLOPT_HTTP_VERSION => CURL_HTTP_VERSION_1_0,
CURLOPT_CUSTOMREQUEST => "POST",
CURLOPT_POSTFIELDS => "{ \"engagement\": { \"active\": true, \"ownerId\": 1, \"type\": \"NOTE\", \"timestamp\": " . time() . "000 }, \"associations\": { \"contactIds\": [ " . $contactId . "], \"companyIds\": [ ], \"dealIds\": [ ], \"ownerIds\": [ ], \"ticketIds\":[ ] }, \"attachments\": [ ], \"metadata\": { \"body\": \"". $text . "\" } }",
CURLOPT_HTTPHEADER => array(
"accept: application/json",
"content-type: application/json"
),
));
$response = curl_exec($curl);
$err = curl_error($curl);
curl_close($curl);
if ($err) {
return null;
} else {
return $response;
}
}
// utility method for createContact and returns the id of the newly created contact
function createContactGetId($number) {
$createRes = createContact($number);
if($createRes == null) {
return -1;
}
$hsJson = json_decode($createRes, true);
return $hsJson['id'];
}

// try to find contact by number
$contactRes = findContactByNumber($aNumber);
if($contactRes == null) {
// empty result from find. Create new contact
$hsContactId = createContactGetId($aNumber);
logDebug('No search result. Create contact ' . $hsContactId);
} else {
// deserialize the hubspot response
$hsJson = json_decode($contactRes, true);
// check whether the resultset contains entries
if(count($hsJson['results']) > 0) {
// get the id from the first search result
$hsContactId = $hsJson['results'][0]['id'];
logDebug('Found contact ' . $hsContactId);
} else {
// no search result found. create new contact
$hsContactId = createContactGetId($aNumber);
logDebug('Create contact ' . $hsContactId);
}
}

// check if hsContactId is an integer
if (!is_int(intval($hsContactId))) {
logDebug("error finding or creating contact");
return;
}

// TODO: create notice with contact
createNotice("Ein Anruf von " . $aNumber, $hsContactId);
logDebug("Notiz angelegt");

?>
The script is divided into 4 blocks. Each of these blocks begins with a line that starts with /* and ends with */.
Block 1 (Zeile 3): #
Beginnt mit: /* ----- config starts here ----- */
Enthält: In diesem Block werden Konfigurationswerte gesetzt. Hier muss
man auch als Leser dieses Artikel aktiv werden.
Was tun?: Das WEB_PASSWORD und der HUBSPOT_API_KEY müssen vom Verwender gesetzt werden. Im ersten Abschnitt zur direkten Integration ist ein Link wie man einen HUBSPOT_API_KEY erzeugen kann.
Wenn DEBUG_LOG auf true gesetzt wird, werden Informationen in die Ausgabe/Rückgabe des Script geschrieben. Diese können dann auch in den Push Logs gesehen werden.
Block 2 (Zeile 8): #
Beginnt mit: /* ----- check access password ----- */
Enthält: In diesem Abschnitt wird überprüft ob die Anfrage das korrekte WEB_PASSWORD enthält. Wenn dies nicht der Fall ist, wird die Anfrage an dieser Stelle beendet.
Durch diesen Abschnitt wird verhindert das Anfragen an das PHP Script von externen etwas in HubSpot verändern.
Block 3 (Zeile 13): #
Beginnt mit: /* ----- read values from request ----- */
Enthält: In diesem Abschnitt werden die Anfrageparameter in Variablen extrahiert.
Block 4 (Zeile 16): #
Beginnt mit: /* ----- code starts here ----- */
Enthält: Hilfsfunktionen und die eigentliche Logik, welche ausgeführt wird.
To ensure that the PHP script also receives the information, a push configuration must be set up in the matelso Control Panel.
First we navigate to “Configuration”->”Integrations 2.0″.

Then we create a CustomPush via the pre-select button.
Then we assign a name and the time of the push. We do not use a filter here either.

In the screenshot, the push is called “HubSpot-PHP” and “POST CALL” is selected as the time.
In the next step, we configure the “Where to?”. For this we need the URL and the name of the PHP file in the web space. In this example, the file is called “matelso-push.php” and is located at “https://scripts.matelso.com/matelso-push.php”.

Now we only need to add the “What? For this example script, 2 GET parameters have to be passed (“aNumber” & “webPasswd”).

The DDD key “” is used for aNumber.